 |
| Julius |
 |
| Tammy |
These are my 2 of my 3 gorgeous babies. Can anyone guess who the third baby is? Tee hee. Anyway, back to business.
 |
| My workstation and materials: Black paper, cream cardstock, with the Thank You emblem on it, a template, and ice cream. |
Status: Tonight, I completed 20 stock thank you cards.
What's left: Adding the corner stickers to hold the photos, writing our thank you messages, handing out the cards. Possibly starting this whole process over again if we discover yet again that we've counted wrong. The crazy thing about weddings is that no matter how many times you count and recount, you're always wrong somehow. >=/
 |
| What my station looked like before I cleared it out to look more like a hardcore crafter's station. |
Disclaimer
The Thank You cards take a very long time to make and require a lot of commitment. It's definitely easier said than done, but I believe the reward is pretty great. =P
You're probably wondering why I decided to make my own Thank You cards instead of just buying them. That was my original plan, because any sane person would be planning to buy a bunch of Thank You cards and filling them out right after he/she comes back from the honeymoon or within 2-3 months of the wedding. Unfortunately, for me, it's an issue of size and culture. As a Vietnamese bride, I'm sort of required to take pictures with every guest as they enter the reception, and then provide those pictures to them during the reception. Unfortunately, I couldn't afford to have that kind of picture service, so I thought, "I'm just going to print out the pictures after the wedding and attach them to the thank you cards. No big deal." Wellllll, it turns out, finding Thank You cards that can fit 4" x 6" pictures is pretty rare. In fact, I couldn't find any. Thank you cards are all 3" x 5" nowadays. Hence, my dilemma.
5" x 7" Thank You Cards with Picture:
Materials:
8.5" x 11" cardstock paper, color and finish of your choice
8.5" x 11" regular weight paper, color and finish of your choice
Scotch Wrinkle Free Glue Stick
Photo corner stickers
A paper cutter with the ability to both score and cut
Step 1: Print the design on the cardstock paper. I can provide a Microsoft Word file of the design by request. You can use that as a starter to choose your own fonts and colors. CAUTION: Changing font will alter not only the size of the text, but also the overall placement of the design on the finished product. Do a mock up to experiment until you have what you want before printing out 100 copies. Please.
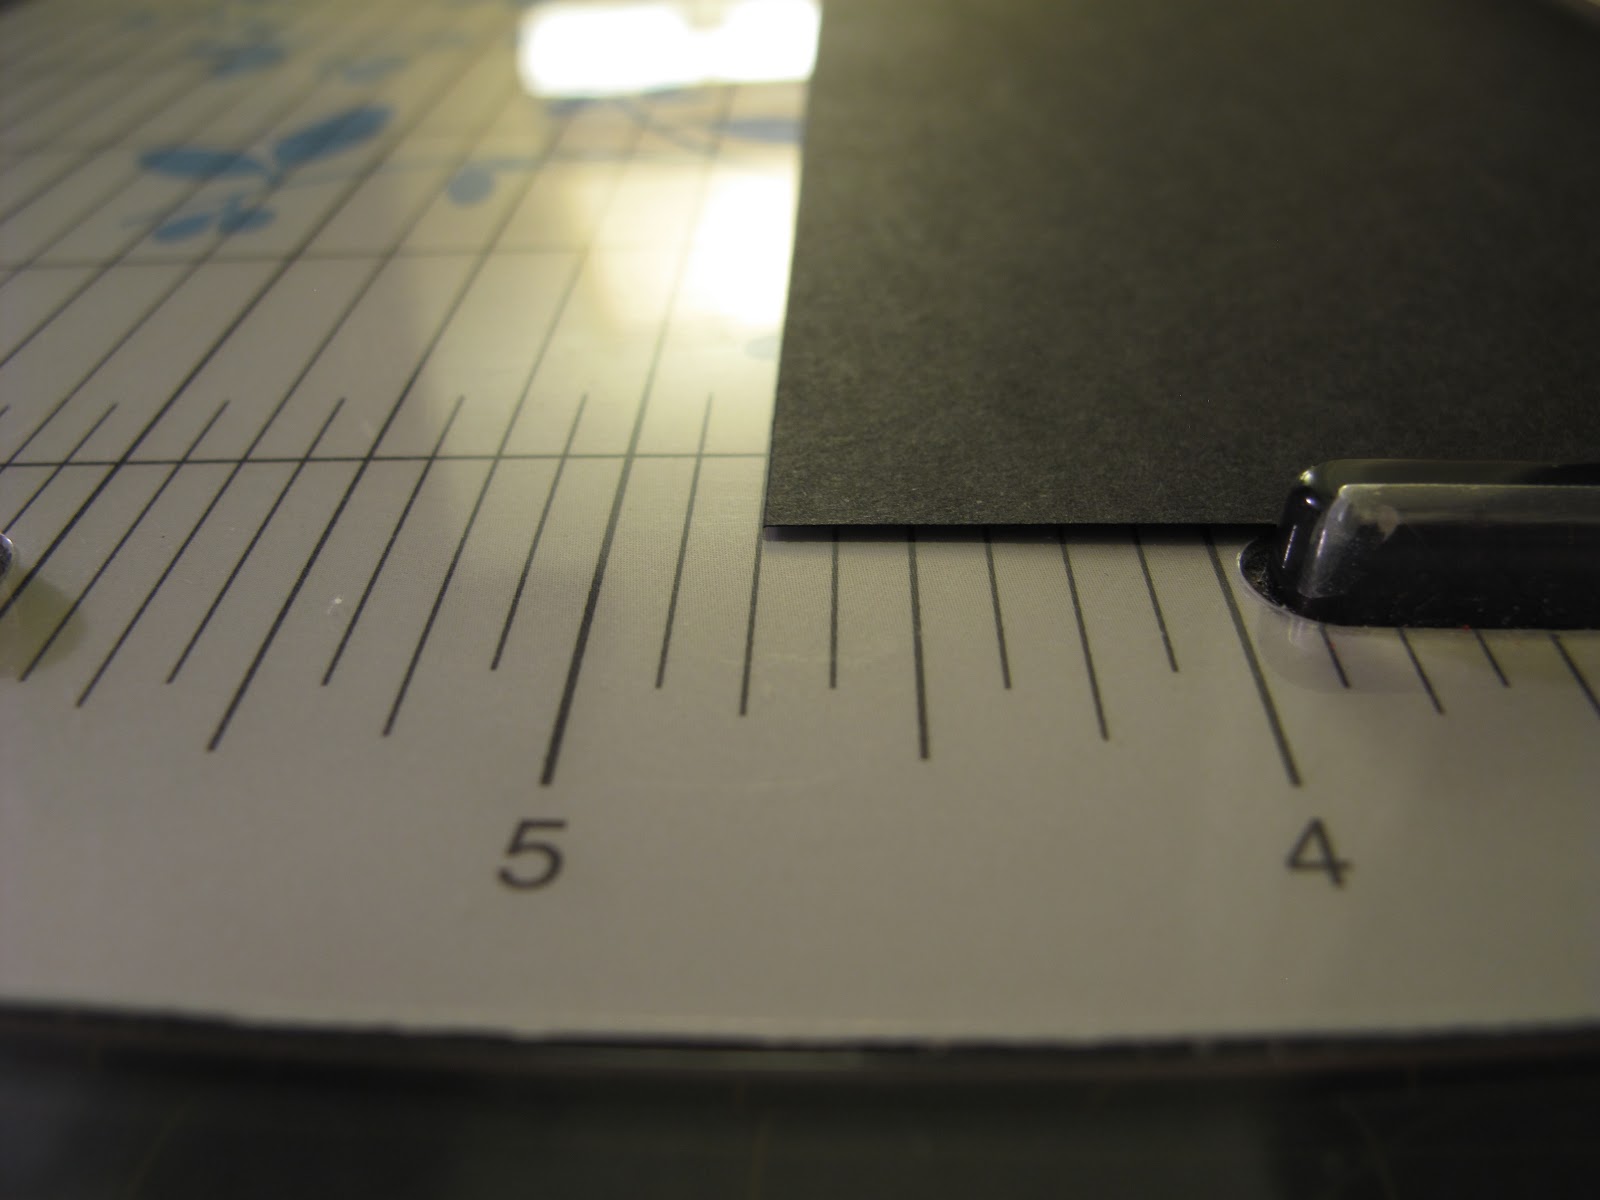
Step 2: Score the cardstock paper 5" from the bottom of the page, with the design facing up. See the picture below:
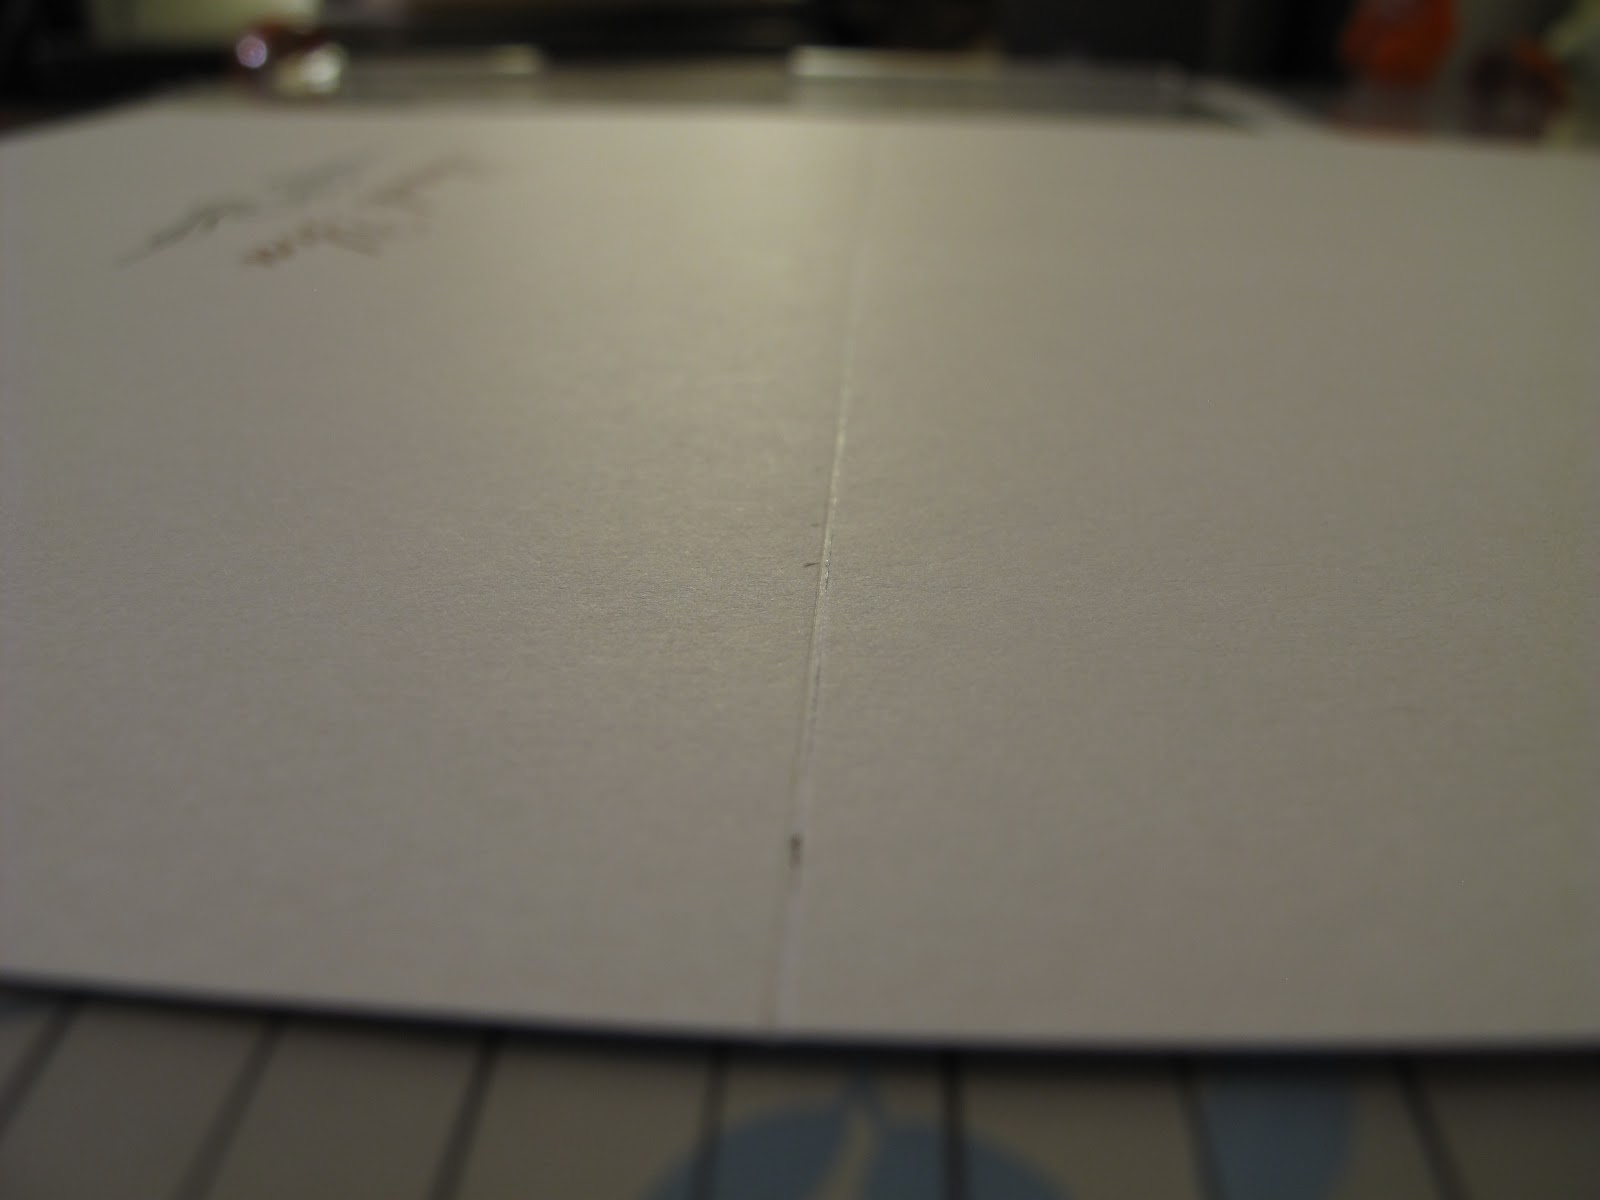 |
| If done right, the dent is on the same side as the design. |
Step 3: Fold along the scored line. A technique that worked for me was to bend the paper gently until the paper starts creasing at the score line. Once that happens, I then crease the fold with my hand.


 |
| A successful fold! What is this extra part sticking out? |
Step 4: Trim the card 5" from the crease, 0.25" from the left side of the card, and 7" from the new left edge of the card to get 5" x 7" and the "thank you" design in the center. I like to fold the card first before trimming because it negates the need to crease the card perfectly so that the corners can meet up.
Step 5: Cut the regular weight paper to use as a background for the picture. Trim the paper to 6.75" hot dog style:


 |
| Julius being forlorn from extended neglect (probably 3 hrs.), surrounding himself with the things he loves, plastics. |
Then cut the paper every 4.75" hamburger style. You will end up with two rectangles that are 4.75" x 6.75"

Step 6: Glue the regular weight paper to the inside of the card on the half that doesn't have any design. I wouldn't worry about being perfectly straight, because honestly, no one can tell once the picture is on the card. You can't be totally off, either, though. A good gauge is to hold it at arm's length and glance at it for a total of 1-2 seconds. If you can't tell it's crooked, then it's good enough. =P


 |
| Almost done, Julius! |
Step 7: Attach the picture. I found the easiest way is to put the corners on the picture first, then attaching the picture to the background. There's no other way I can think of. If you do figure something else out, let me know! Again, you don't have to be perfectly straight. With 3 different layers (cardstock, regular weight paper, picture), it's very hard to see any slight crookedness.
 |
| Finished product! |
 |
| The inside |
It's so late at night right now, I don't even know if this post makes sense. I am willing to answer any questions you may have, though. Enjoy!
Julius looks so fat and cute in these pictures! Thank you for the "Thank You" picture holder by the way.
ReplyDelete